Are you looking to give your bedroom in Anchorage, Alaska, a fresh, new look? Painting your own space can be rewarding and cost-effective, but it requires preparation, the right tools, and technique. Whether you’re a beginner or have some painting experience, this comprehensive guide will walk you through every step of your DIY bedroom painting project. Plus, learn how JNL Painting can help bring your vision to life with professional results.
Note: For professional assistance or if you’d rather leave the job to experts, contact http://jnlpaintingalaska.com in Anchorage, AK, for high-quality residential painting services. Visit JNL Painting Anchorage for a free consultation.
Why Paint Your Bedroom?
A fresh coat of paint can instantly alter your bedroom’s ambiance, making it more relaxing, vibrant, or cozy depending on your color choices. Painting is one of the most cost-effective upgrades for your home, creating a significant impact with minimal investment.
Step 1: Planning Your Bedroom Painting Project
Choose the Perfect Colors
Color selection is crucial. Light, neutral shades like beige, soft gray, or pastel blues create a peaceful environment ideal for rest. Bold accent walls can add personality without overwhelming the space. Explore color ideas and visualize your bedroom with tools like:
Image Tip: Include an interior mood board or sample color swatches to showcase the options.
Measure Your Room
Accurately measuring wall areas ensures you buy enough paint and supplies, minimizing waste. Measure length and height of each wall, then calculate the total square footage. Don’t forget to subtract window and door areas.
Gather Supplies and Tools
Having the right tools makes all the difference. Here’s what you’ll need:
- Quality brushes and rollers
- Painter’s tape
- Drop cloths or plastic sheeting
- Primer (if needed)
- Exterior and interior paint suitable for bedrooms
- Paint tray and extension poles
- Sandpaper and spackle for surface prep
- Ladder or step stool
Image Tip: Display a well-organized toolkit with brand recommendations for high-quality supplies.
Step 2: Preparing Your Bedroom
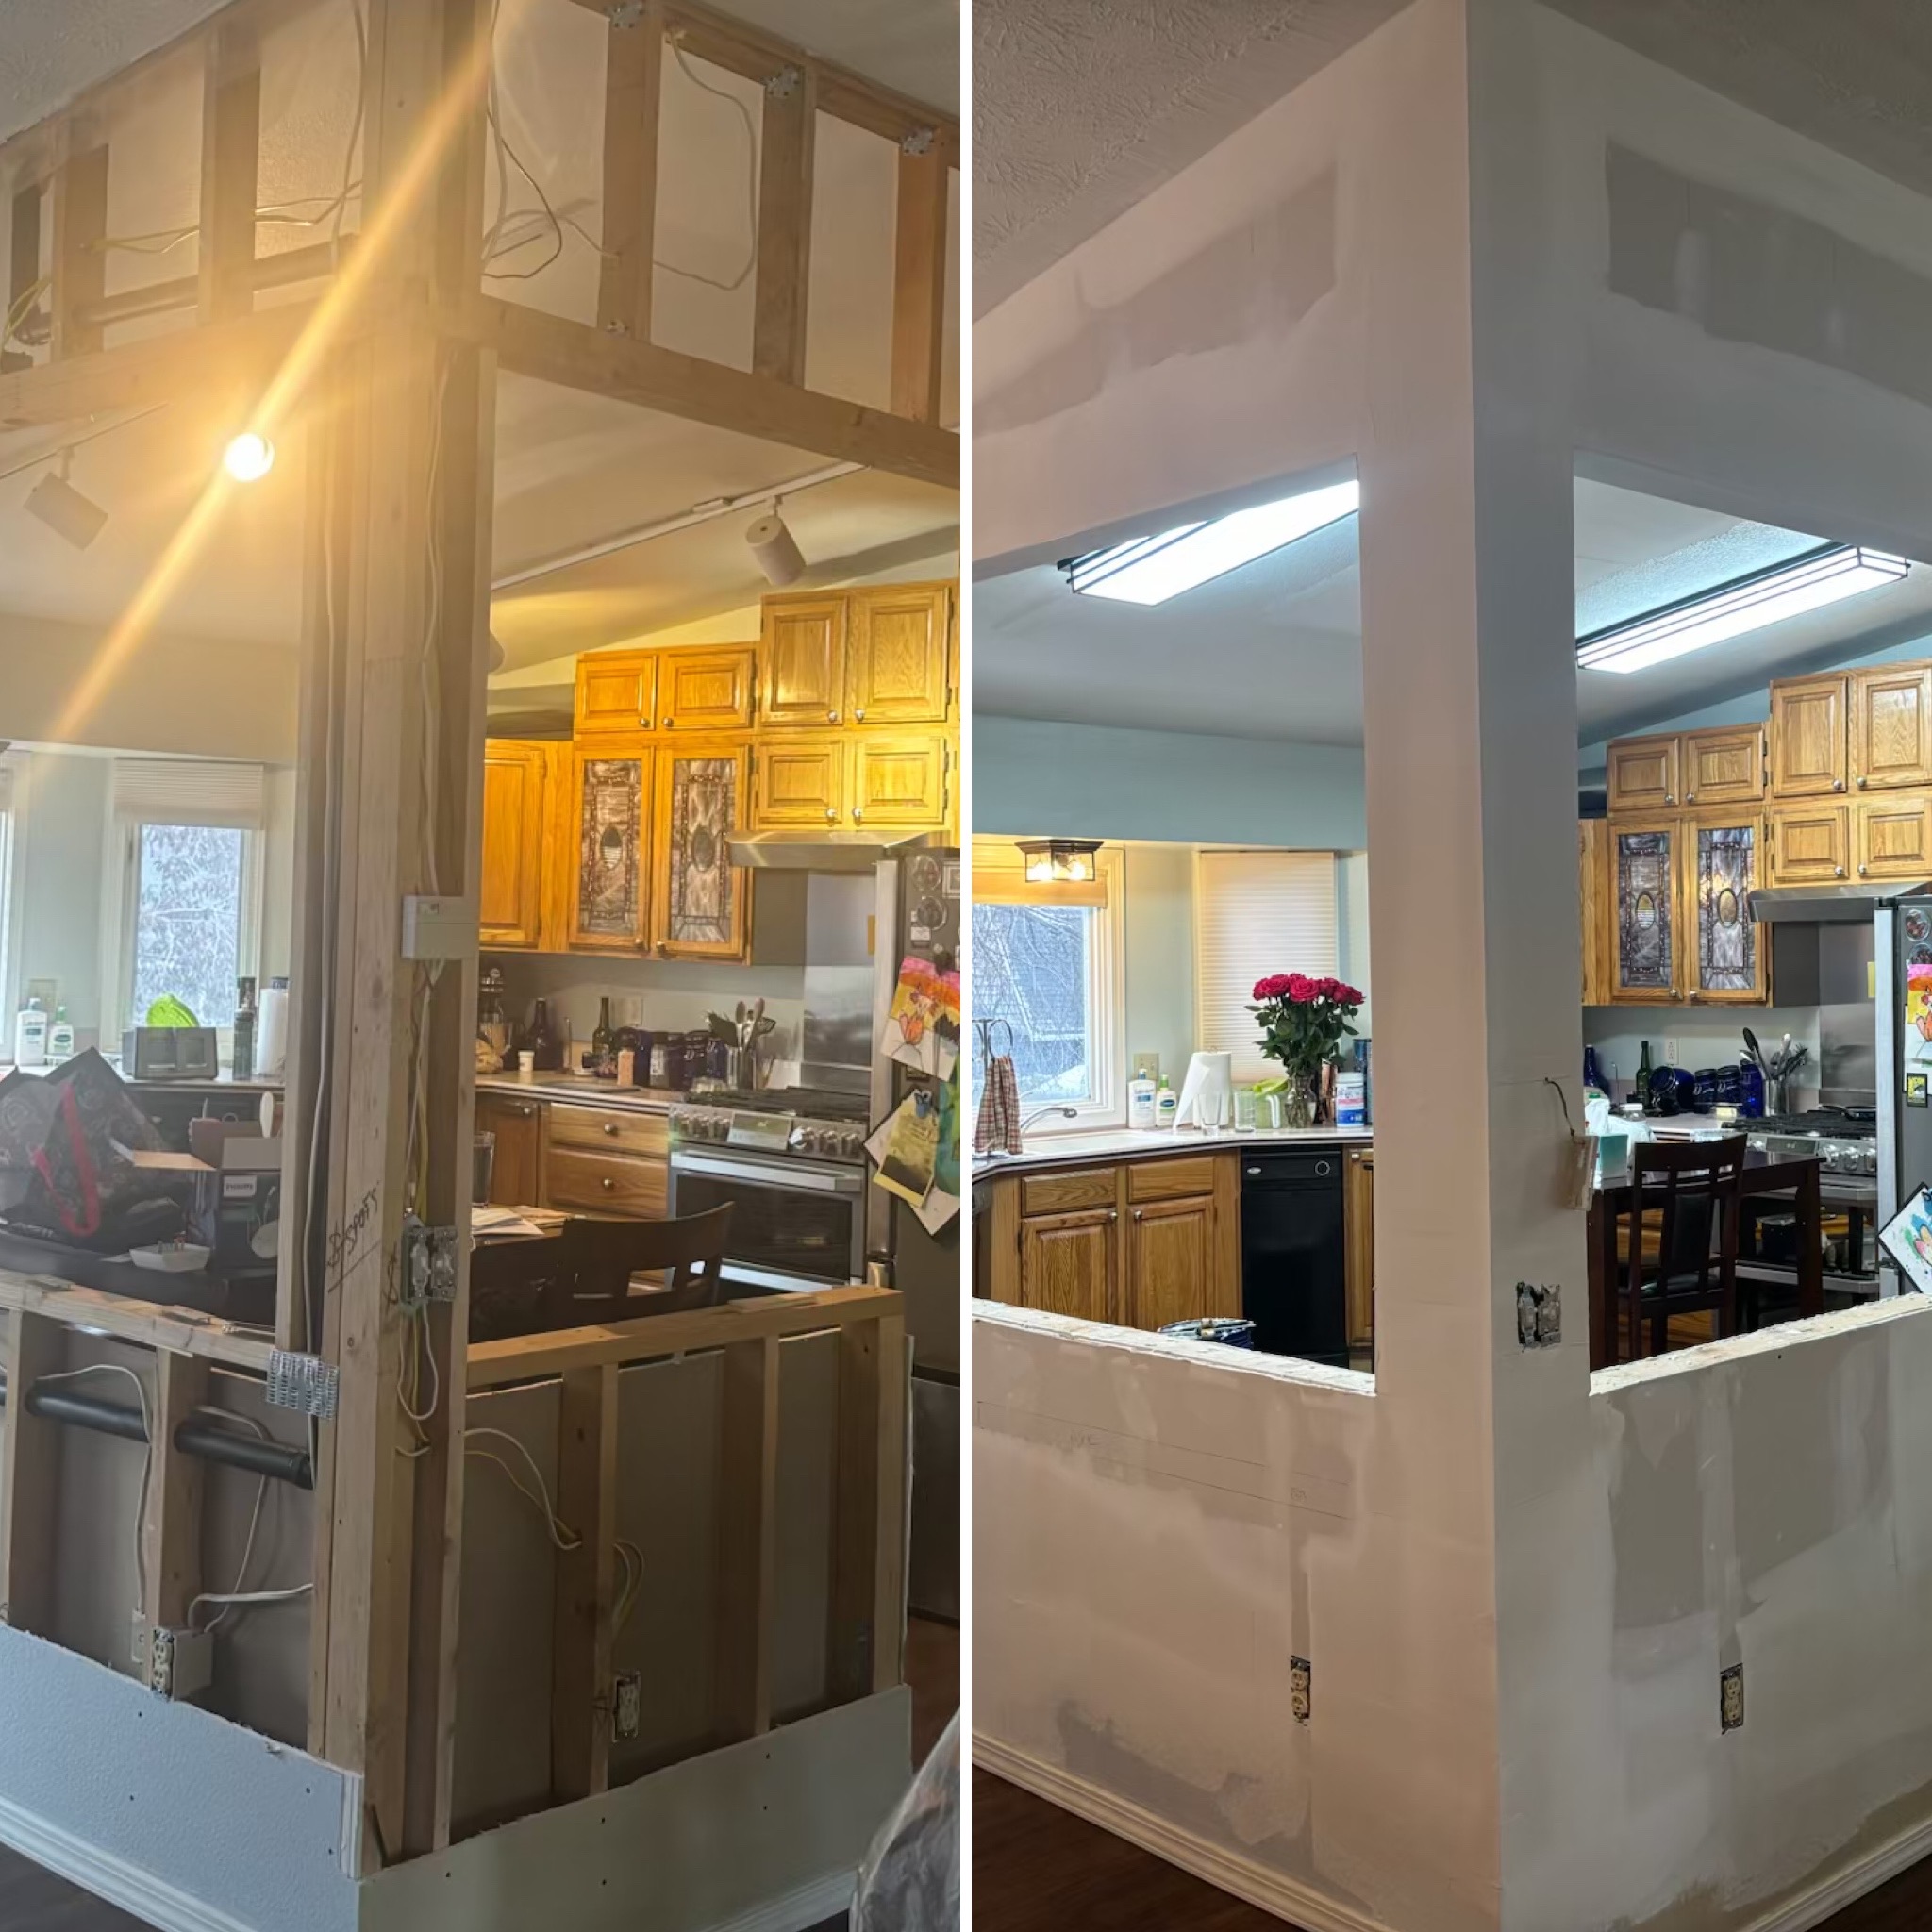
Clear the Space
Remove furniture or place it in the center of the room. Cover items with drop cloths or plastic sheeting to protect from paint splatters.
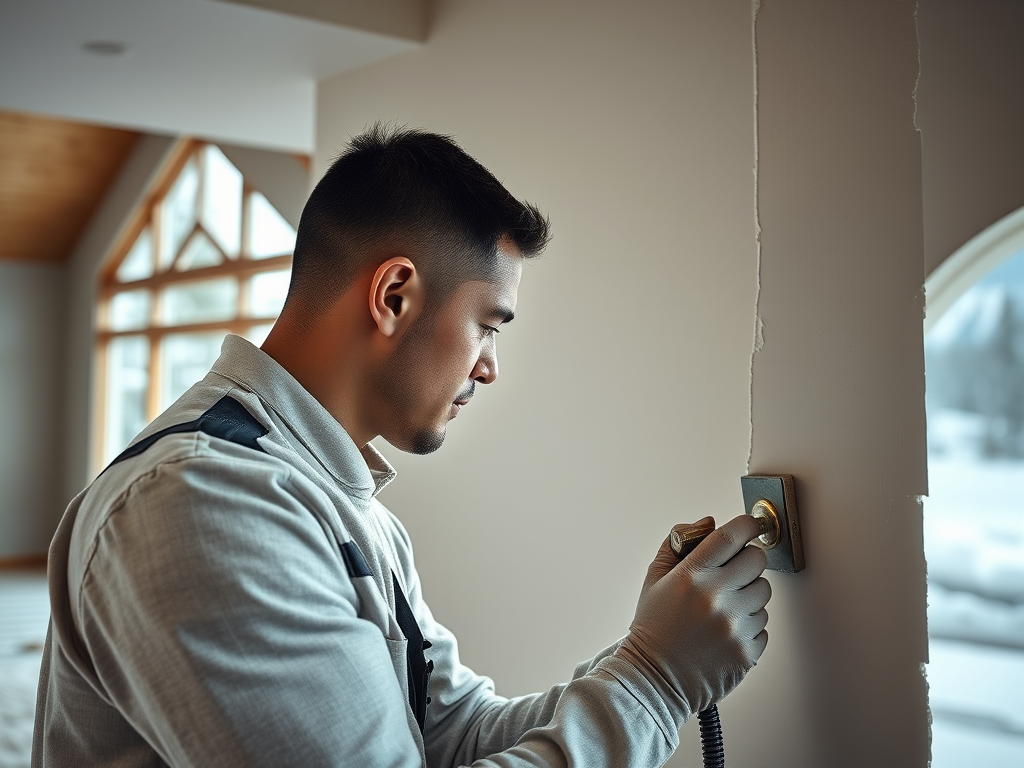
Patch and Sand Walls
Inspect walls carefully. Fill holes and cracks with spackle, then sand smooth once dry. This step ensures a flawless finish.
Clean Walls
Dust and wash walls with mild soap and water or a gentle all-purpose cleaner. Clean surfaces help paint adhere better and last longer.
Tape Off Edges
Use painter’s tape along trim, baseboards, door frames, and window casings for sharp lines. Tape around outlets and light switches for a professional look.
Image Tip: Show a close-up of painter’s tape application for precise edges.
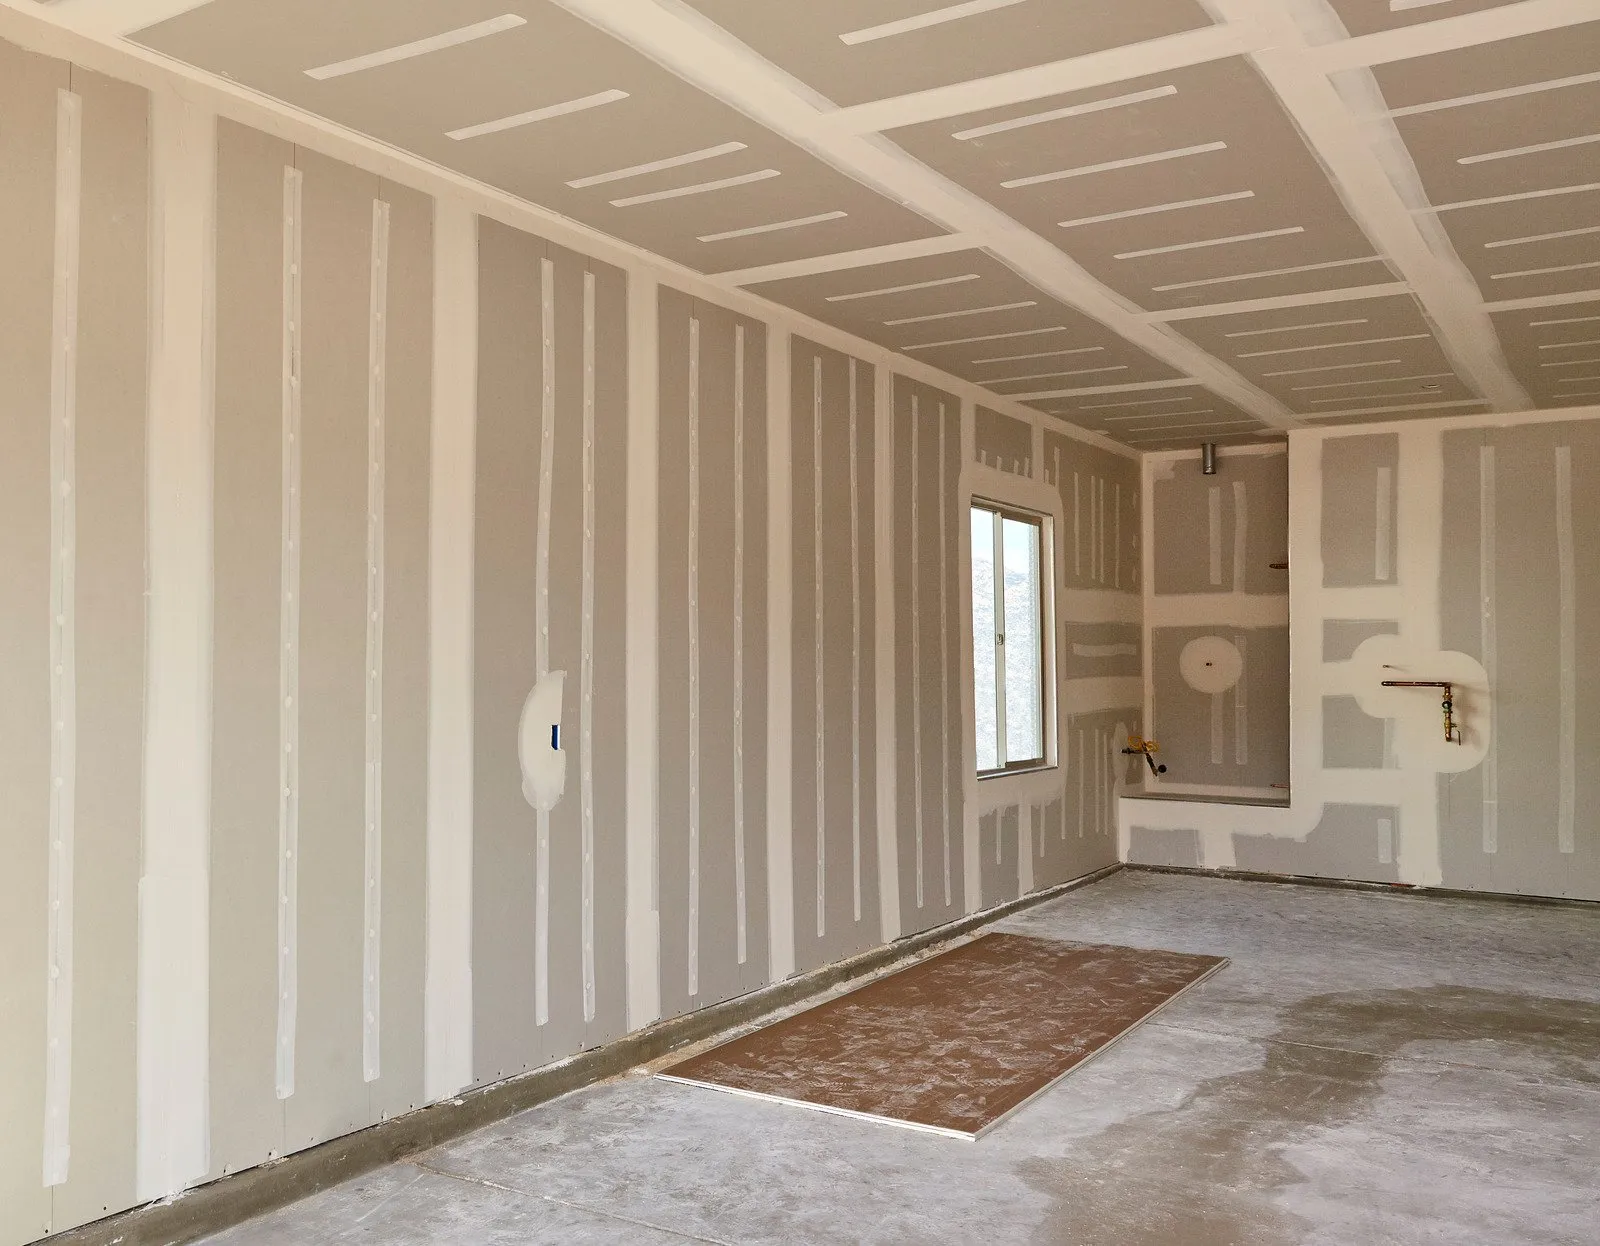
Step 3: Priming and Painting
Prime the Walls
If you’re painting over dark colors, stains, or differences in surfaces, apply a primer. Primer improves paint adhesion and color accuracy.
Choose the Right Paint Finish
- Matte/Flat: Hides imperfections and reduces glare but harder to clean.
- Eggshell/Satin: Slight sheen, durable, ideal for bedrooms.
- Semi-gloss/Gloss: Easy to clean but more reflective.
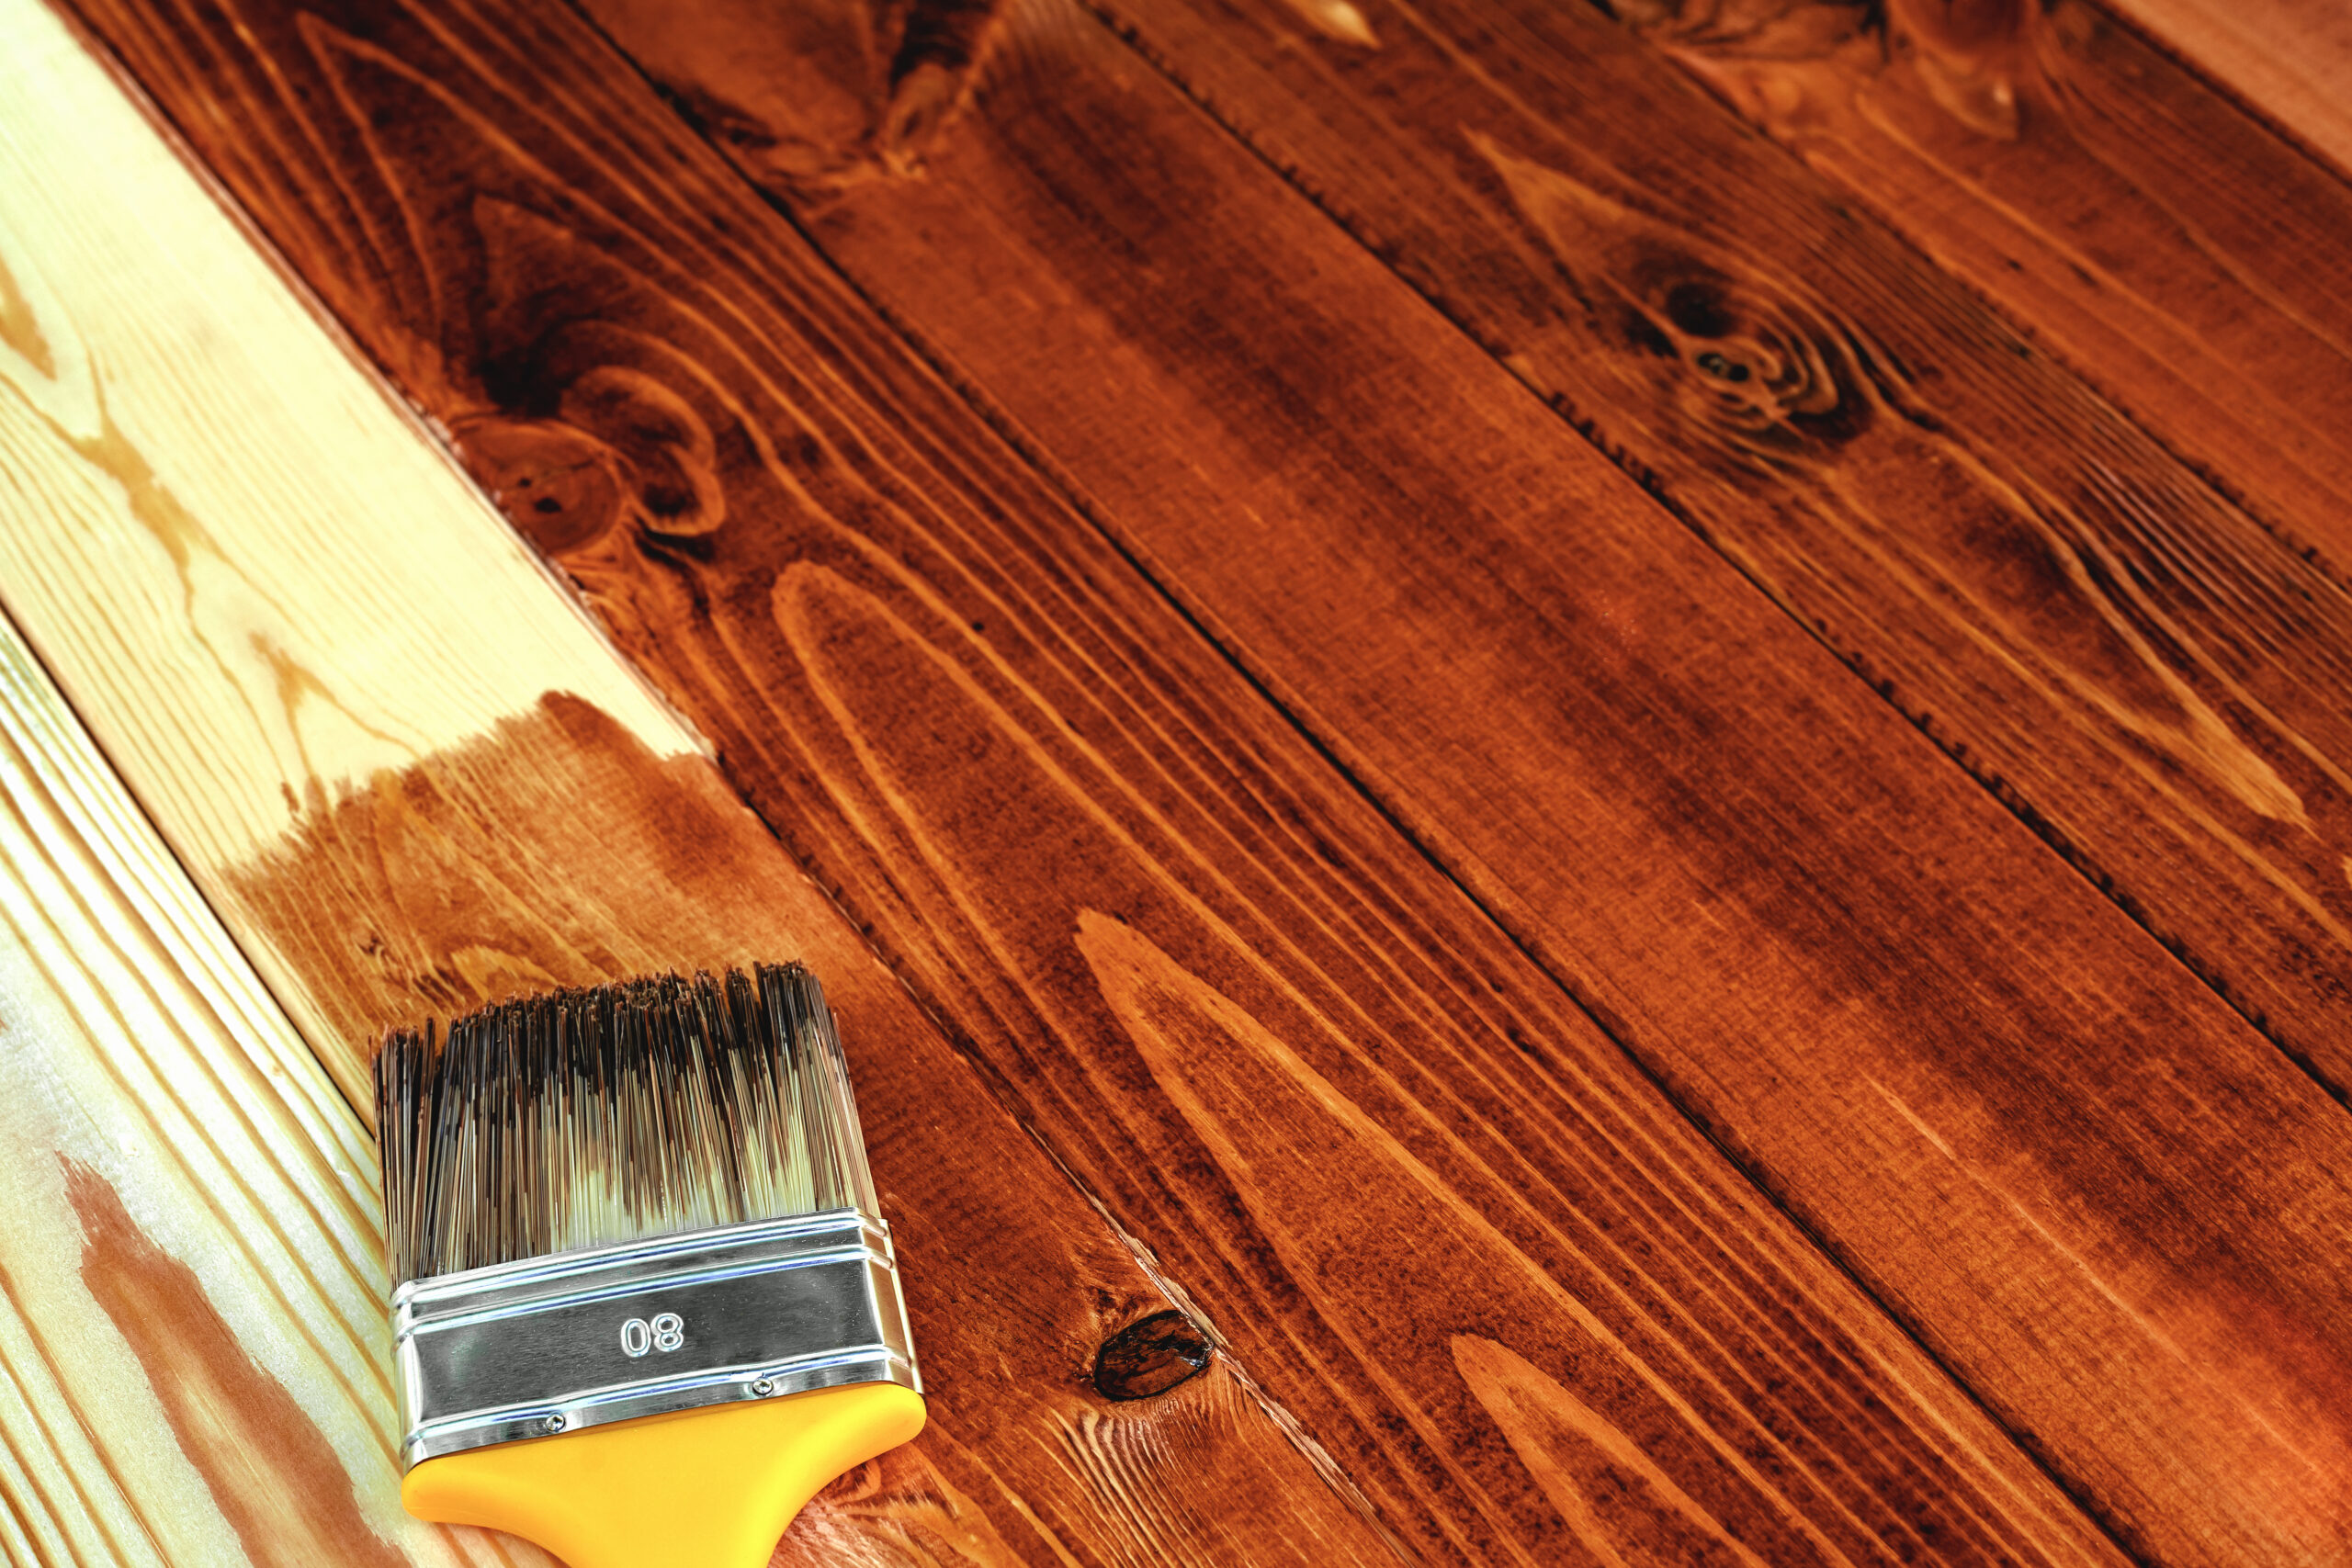
Start Painting
Begin with edges and corners using a brush. Use a roller for larger wall areas, working in a “W” or “M” pattern for even coverage. Avoid pressing too hard to prevent streaks.
Apply Multiple Coats
Allow the first coat to dry completely as per manufacturer instructions before applying the second — typically after 2-4 hours. Most bedrooms need two coats for vibrant, even color.
Image Tip: Include a step-by-step of painting walls with different brushes and rollers, emphasizing proper technique.
Step 4: Finishing Touches
Remove Painter’s Tape
Carefully peel away tape while paint is still slightly tacky to prevent peeling.
Touch Up
Use a small brush for precise touch-ups around edges or tough spots.
Clean Up
Wash brushes and rollers with warm, soapy water or mineral spirits based on paint type. Dispose of or store leftover paint properly for future touch-ups.
Reinstall Furniture
Once the paint is fully dry, move furniture back into place. Consider adding decorative accents like artwork, curtains, or new bedding to complement your freshly painted walls.